Onepage
Every project has an interface Onepage which can access it. The interface bellow is an example of a project Onepage.
Please pay attention that you must configure the project before accessing this interface (enable Onepage for the project)
To access this interface, you click on Onepage situated in the sidebar
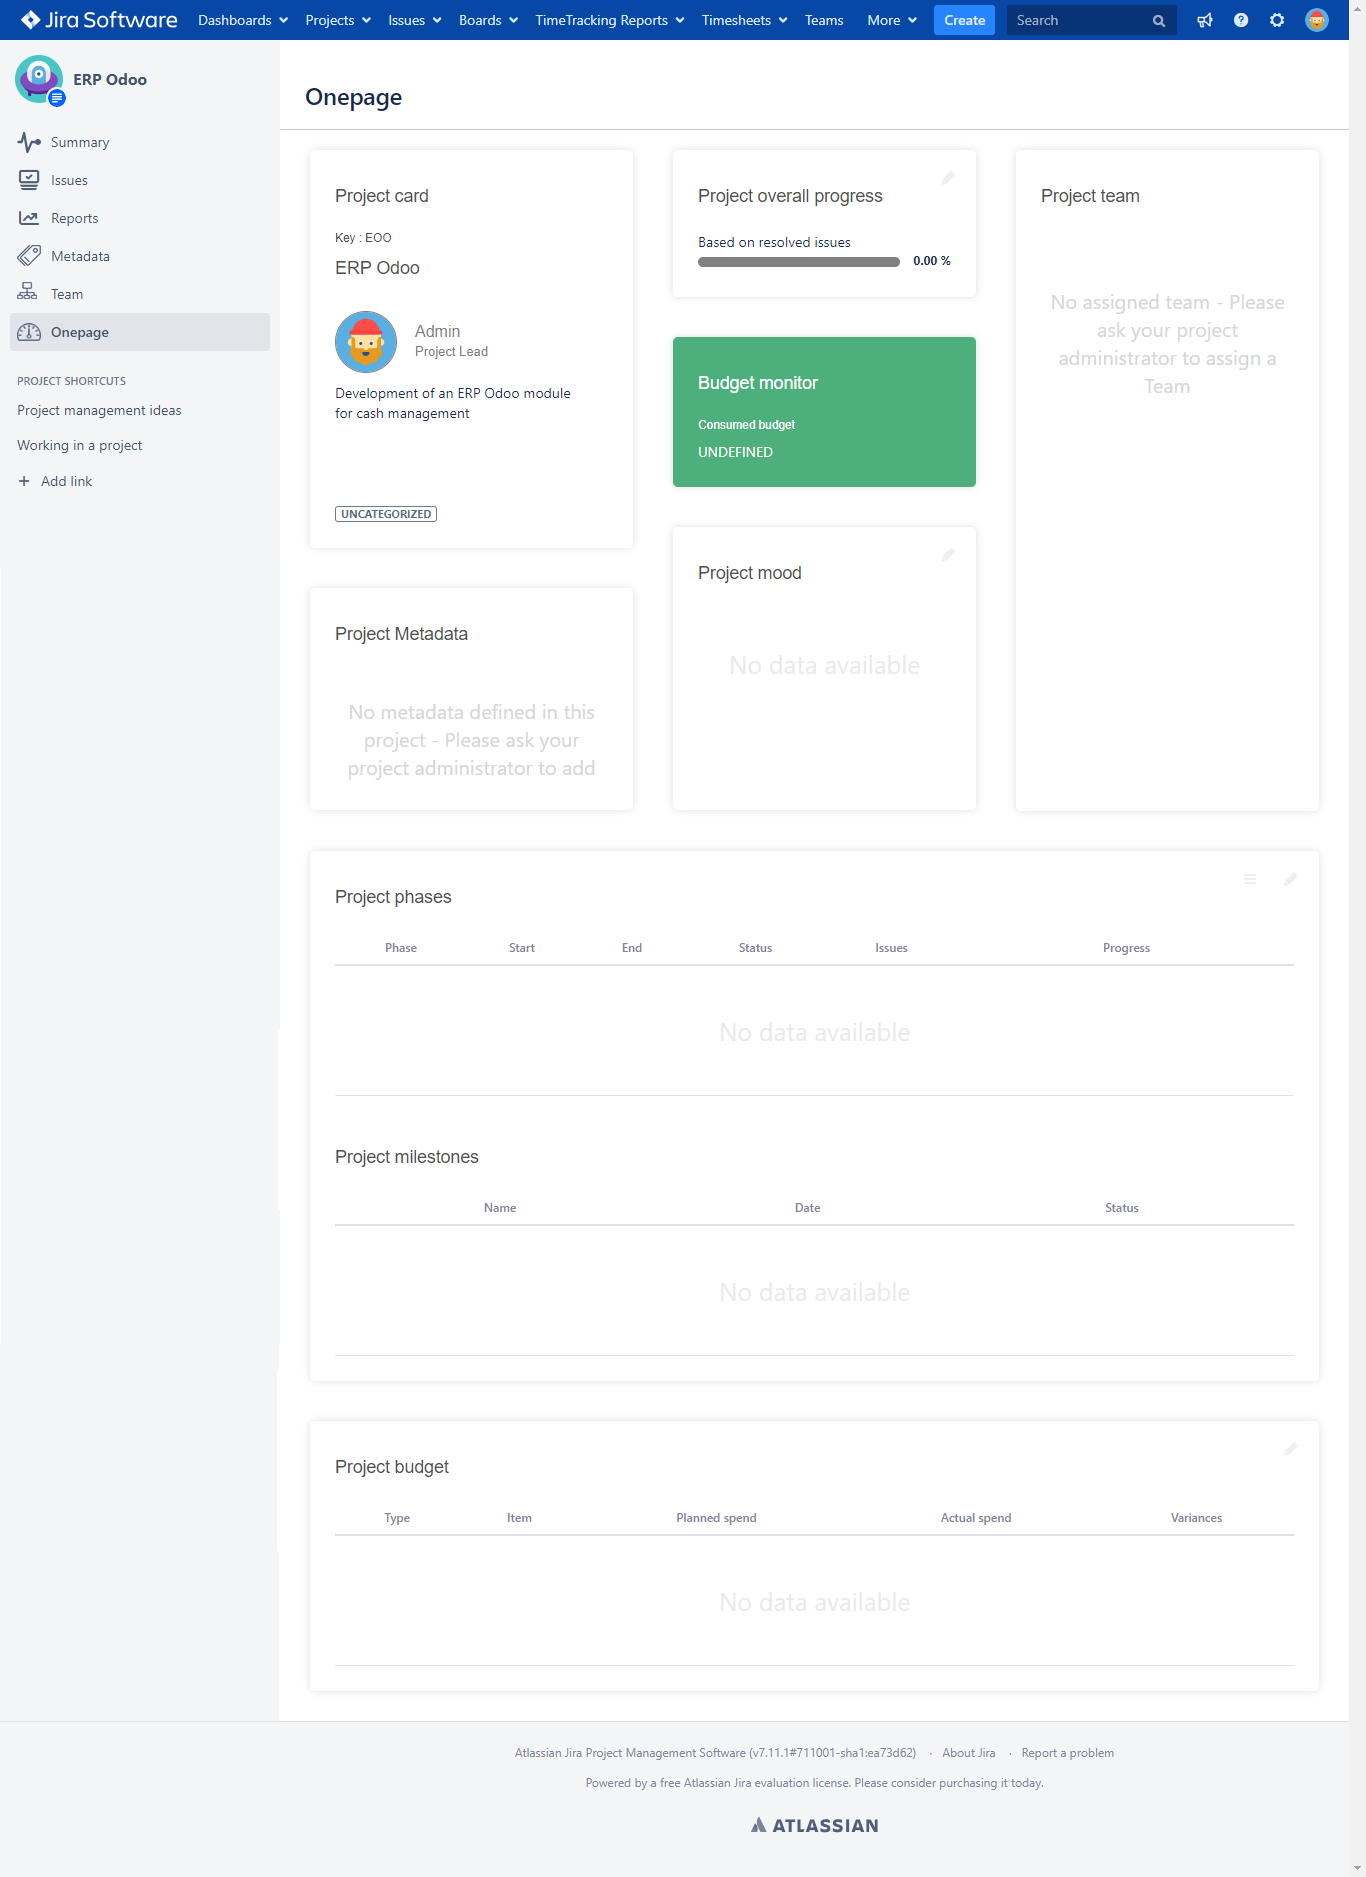
Onepage interface
As you see Onepage is composed by eight widgets:
- Project card
- Project overall progress
- Budget monitor
- Project team
- Project metadata
- Project mood
- Project phases / Project milestones
- Project budget
1.Project program card
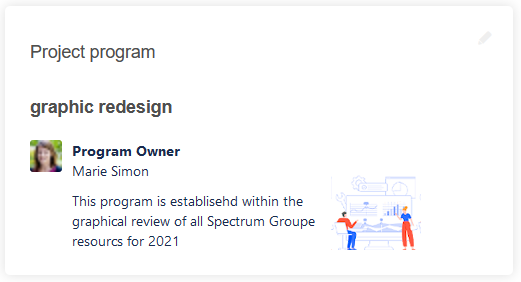
PROGRAM card
In this widget, project administrators can set the project program. Programs are added globally in Jira Apps administration section.
This widget displays the program information : Name, Owner and the description.
To edit or set the project program, please click on the pen icon in the top right corner of the widget.
2.Project card
Project card
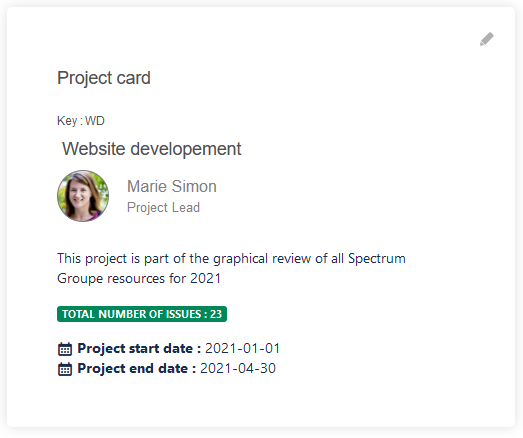
Display the project details:
- Project key
- Project Name
- Project manager / Lead
- Project description
- Total number of issues within project
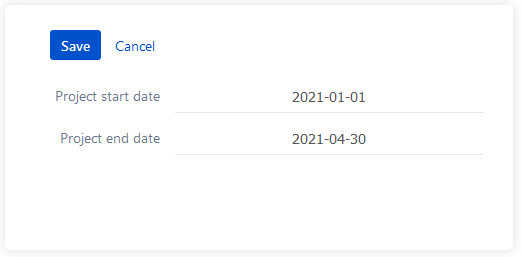
- Project start date
- Project end date
Project start and end dates can be added and edited from the configuration button in the top right corner of the widget.
3.Project overall progress
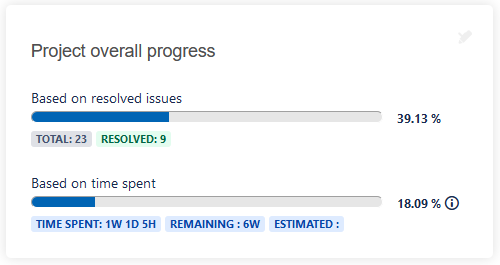
In this widget, there are two progress bars:
- Progress bar based on issues
- Number of issues resolved / Total number of issues
- Progress bar based on time
- Time spent / (Remaining estimated + Time spent)
4.Project team
This widget is related to the add-on Spectrum Teams.

This widget contains the team's members of the project. It displays :
- The team's name
- The team's members
- The member's name
- The member's role
5.Project metadata
This widget is related to the add-on Spectrum Metadata.
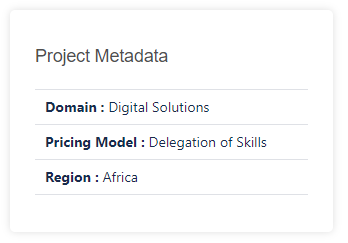
This widget contains the metadata associated to the project. It displays :
- The metadata label
- The metadata value
6.Project mood
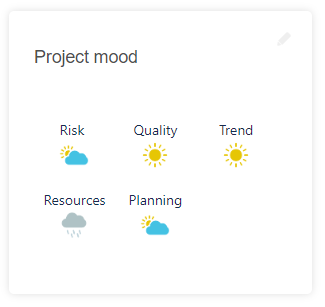
This widget displays the project's metrics and their indicators.
- As an administrator, you can add, update and delete the project's metrics and their indicators.
- As a simple user, you must have the permission to add, update and delete the project's metrics and their indicators.
We will consider the current user as an administrator, so he can add, update and delete metrics and icons.
ADD MOOD Click on ![]() → Choose a metric from the selector → Choose the icon
→ Choose a metric from the selector → Choose the icon
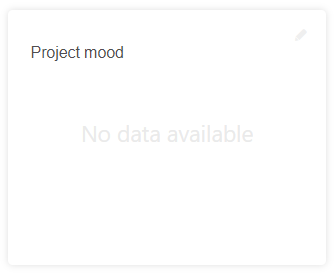
The screenshot bellow represents the widget when it is empty.
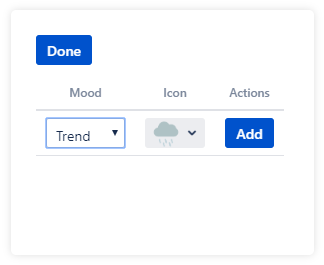
Once you click on ![]() , this view is displayed.
, this view is displayed.
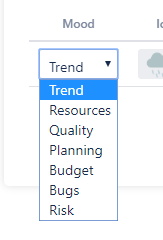
Now, you must choose the mood metric from the selector.
- The metric's selector contains the list of metrics from the mood global configuration.
Here an example:
| The metric selector Onepage | The mood global configuration |
|---|---|
|
|

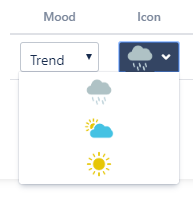
- The icon selector contains by default three ones from the types you has chosen from the mood global configuration
For example for the metric Trend, the administrator has chosen the icon type Weather.
| The icon selector Onepage | The mood global configuration |
|---|---|
|
|

Once you click on Add.
You can add one or more mood at the same time:
- You choose the mood metric and the icon type → click on Add
- You repeat the scenario 1 before clicking on Done
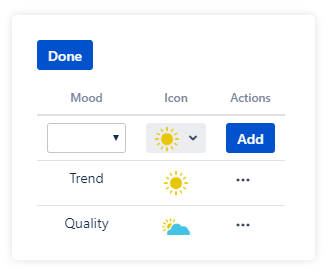
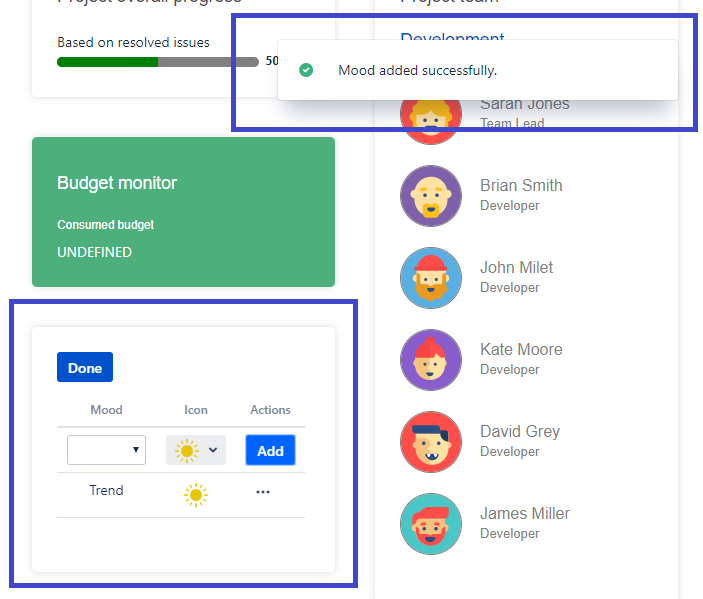
Once you add moods, you click on Done to return to the principal interface of Onepage where moods are displayed.

![]() That's it! All the moods are there!
That's it! All the moods are there!
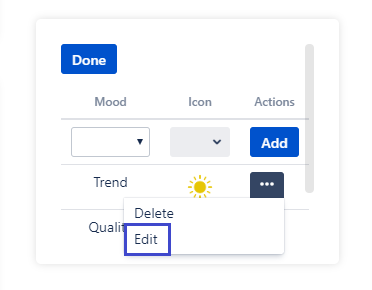
EDIT MOOD Click on ![]() → Choose from the list the mood to edit and click on
→ Choose from the list the mood to edit and click on ![]() → Edit
→ Edit
Once you click on Edit, this screenshot is displayed.
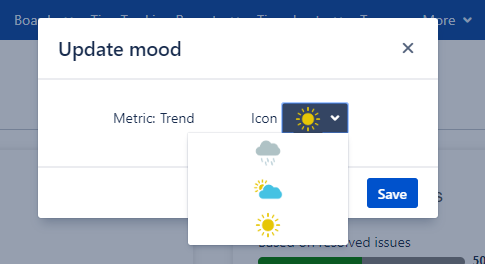
You can just edit the icon mood and click on Save. Once you confirm the update the icon will be changed.
![]() Mood is updated!
Mood is updated!
DELETE MOOD Click on ![]() → Choose from the list the mood to delete and click on
→ Choose from the list the mood to delete and click on ![]() → Delete
→ Delete
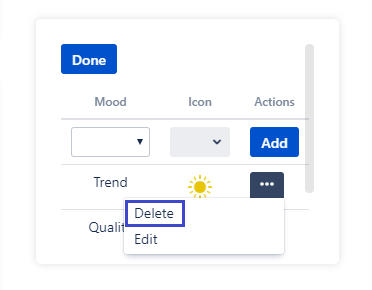
Once you click on Delete, this screenshot is displayed.
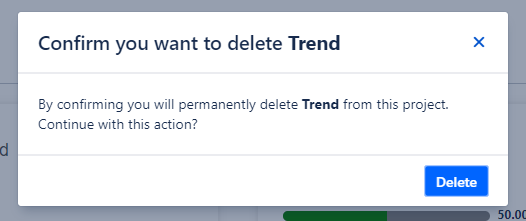
To confirm the deletion of the mood selected, you must click on Delete.
A message will be displayed confirming the deletion.
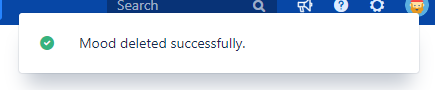
![]() Mood is deleted!
Mood is deleted!
7.Project phases and milestones
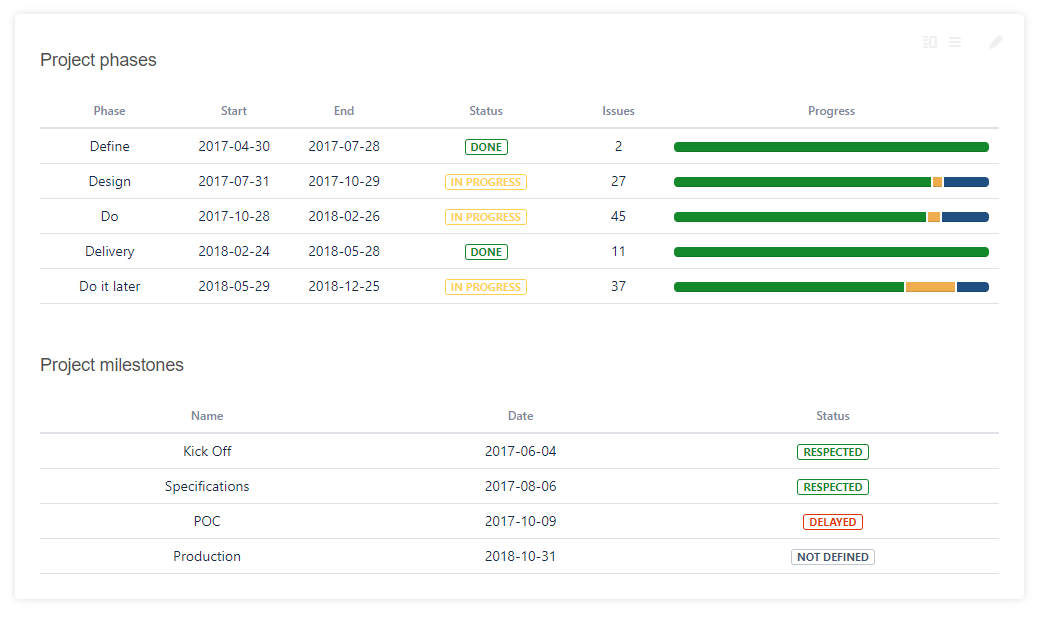
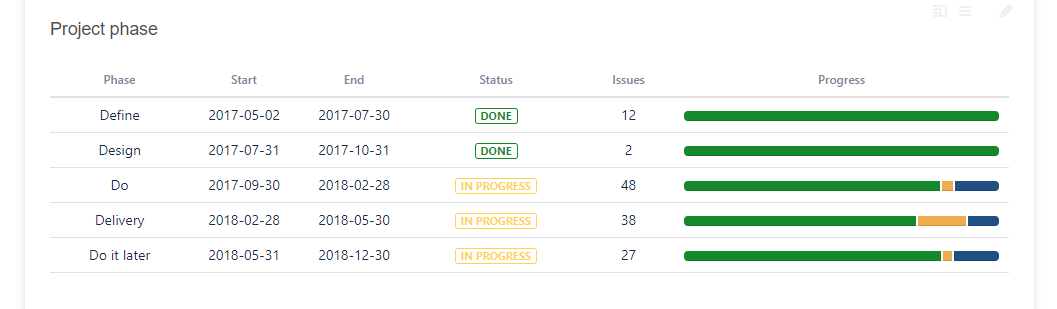
This widget displays the project's phases and milestones.
- As an administrator, you can add, update and delete the project's phases and milestones.
- As a simple user, you must have the permission to add, update and delete the project's phases and milestones.
We will consider the current user as an administrator, so he can add, update and delete phases and milestones.
Project phase
ADD PHASE Click on ![]() → Choose a name from the selector → Choose the start date and the end date → Click on Add
→ Choose a name from the selector → Choose the start date and the end date → Click on Add
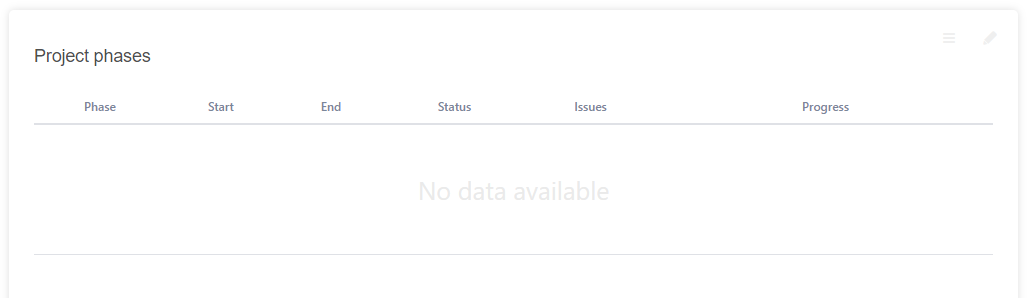
The screenshot bellow represents the widget when it is empty.
Once you click on ![]() , this view is displayed.
, this view is displayed.
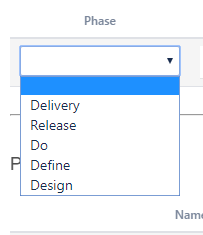
Now, you must choose the phase name from the selector, add the start date and the end date.

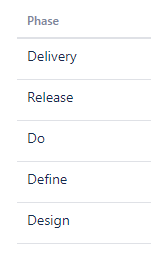
- The phase's selector contains the list of the phases from the phase global configuration.
Here an example:
| The phase selector Onepage | The phase global configuration |
|---|---|
|
|
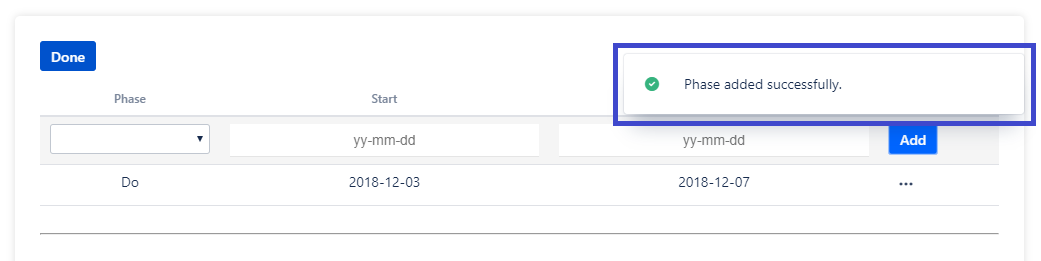
Once you click on Add.
You can add one or more phase at the same time:
- You choose the phase , add the start and the end date → click on Add
- You repeat the scenario 1 before clicking on Done
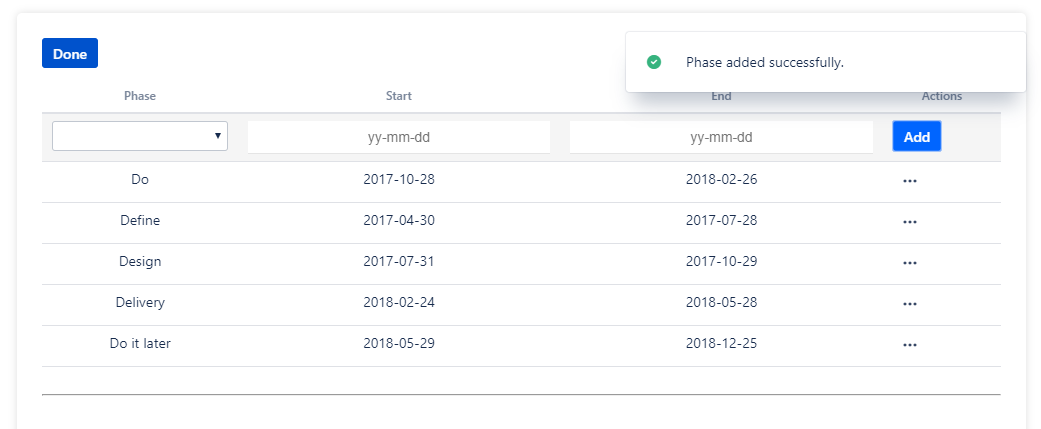
Once you add phases, you click on Done to return to the principal interface of Onepage where phases are displayed.
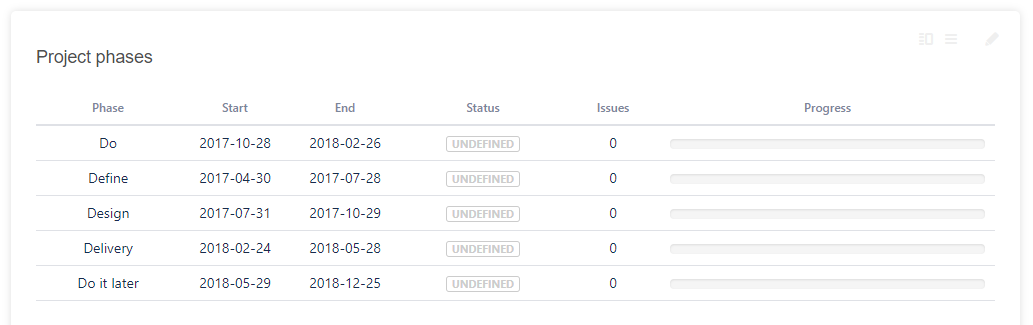
![]() That's it! All the phases are there!
That's it! All the phases are there!
Now, you must assign issues to phases.
Go to Issues → choose the issue → Edit
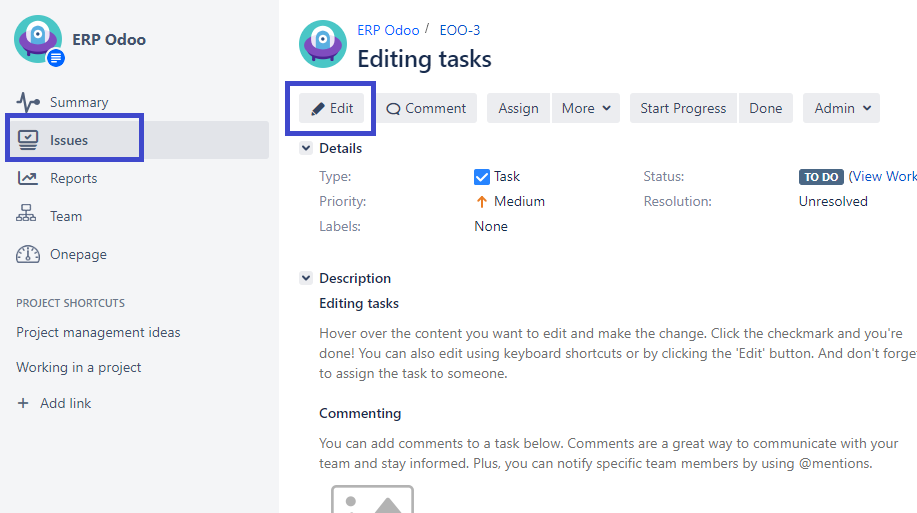
Once you click on Edit, the screenshot bellow will be displayed contains the custom field "Project phase".
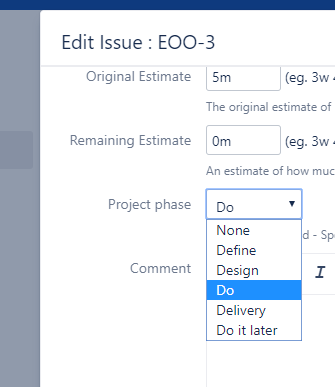
Here, you must choose the phase to associate.
If you choose the view screen in the phase configuration, the custom field "Project phase" will appears there.

As you associate phases to issues, here the screenshot:
![]() That's it! All the phases are there!
That's it! All the phases are there!
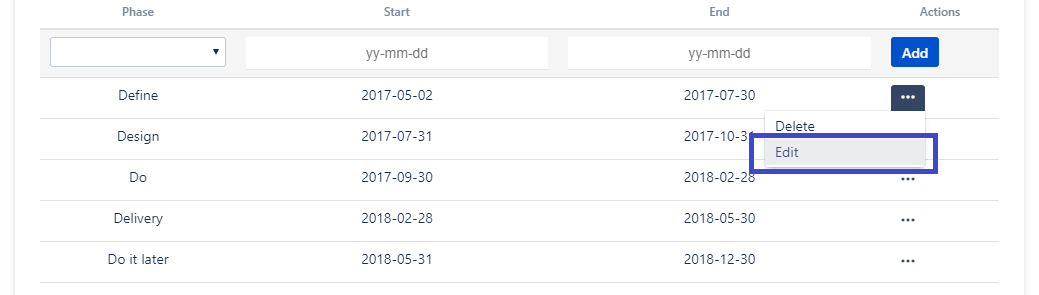
EDIT PHASE Click on ![]() → Choose from the list the phase to edit and click on
→ Choose from the list the phase to edit and click on ![]() → Edit
→ Edit
As you click on Edit, the screenshot bellow is displayed.
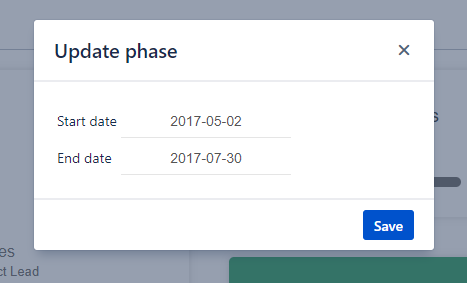
You can just change the start date and the end date.
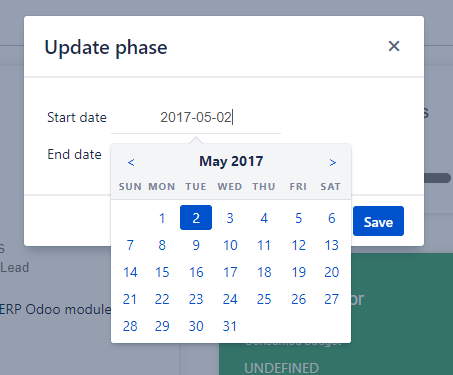
Once you update the dates you click on Save.
![]() Phase is updated!
Phase is updated!
DELETE PHASE Click on ![]() → Choose from the list the phase to delete and click on
→ Choose from the list the phase to delete and click on ![]() → Delete
→ Delete

Once you click on Delete, this screenshot is displayed.
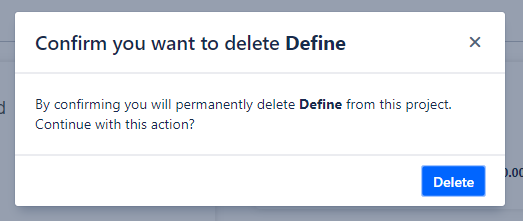
To confirm the deletion of the phase selected, you must click on Delete.
A message will be displayed confirming the deletion.
 Phase is deleted!
Project milestones
ADD MILESTONE Click on ![]() → Enter the milestone label → Choose the date → Click on Add
→ Enter the milestone label → Choose the date → Click on Add
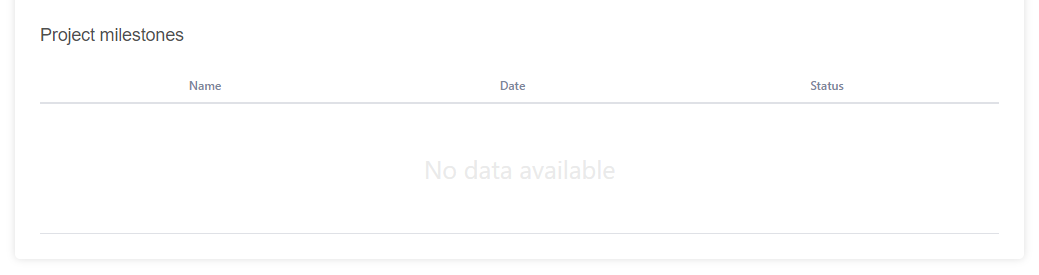
The screenshot bellow represents the widget when it is empty.
Once you click on ![]() , this view is displayed.
, this view is displayed.
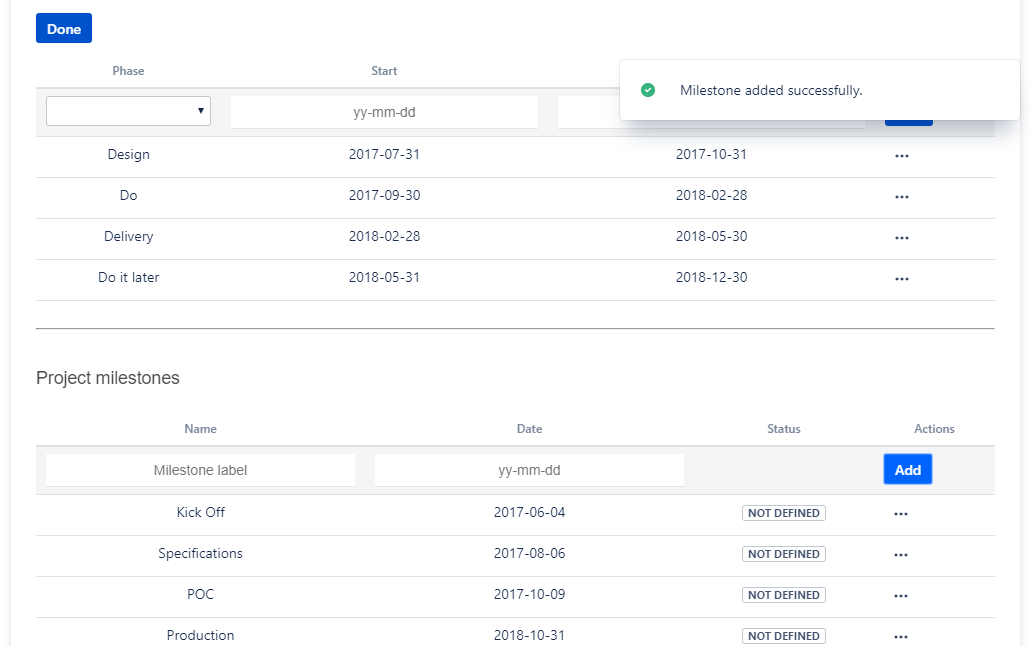
Now, you must enter the milestone name , add its date and click on Add.

By default, the milestone status will be Not defined, you can change it by editing the milestone. (Check the section EDIT MILESTONE)
Once you click on Add, the message bellow will be displayed.
You can add one or more milestone at the same time:
- You enter the milestone name , add its date → click on Add
- You repeat the scenario 1 before clicking on Done
Once you add all the milestones, you click on Done to return to the principal interface of Onepage where the milestones are displayed.
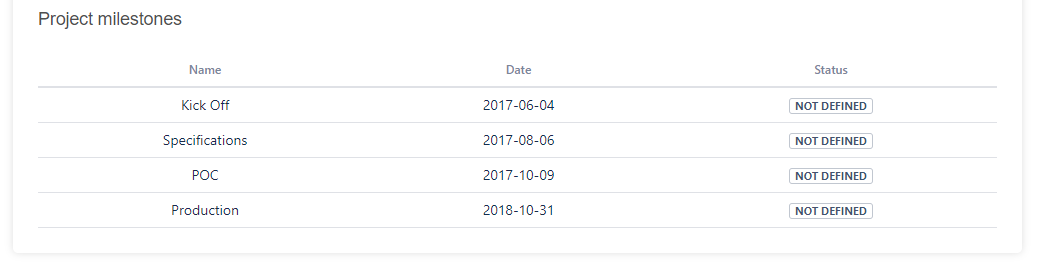
![]() That's it! All the milestones are there!
That's it! All the milestones are there!
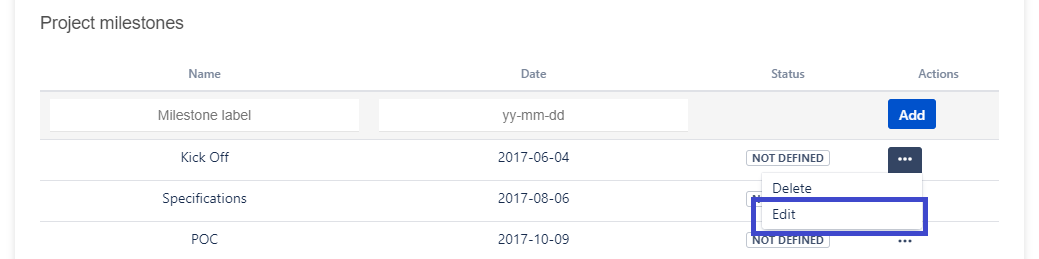
EDIT MILESTONE Click on ![]() → Choose from the list the milestone to edit and click on
→ Choose from the list the milestone to edit and click on ![]() → Edit
→ Edit
As you click on Edit, the screenshot bellow is displayed.
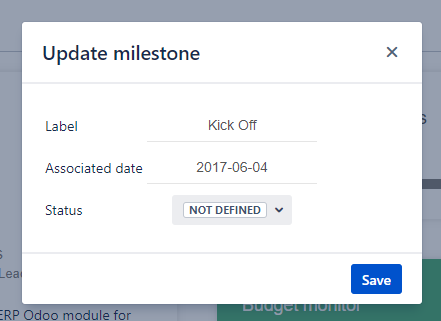
You can change the milestone label, the associated date and the status.
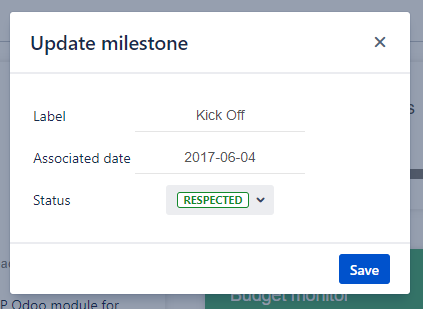
Once you update fields you click on Save.
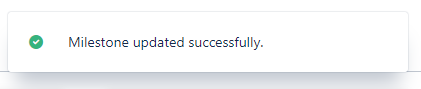
![]() Milestone is updated!
Milestone is updated!
DELETE MILESTONE Click on ![]() → Choose from the list the milestone to delete and click on
→ Choose from the list the milestone to delete and click on ![]() → Delete
→ Delete
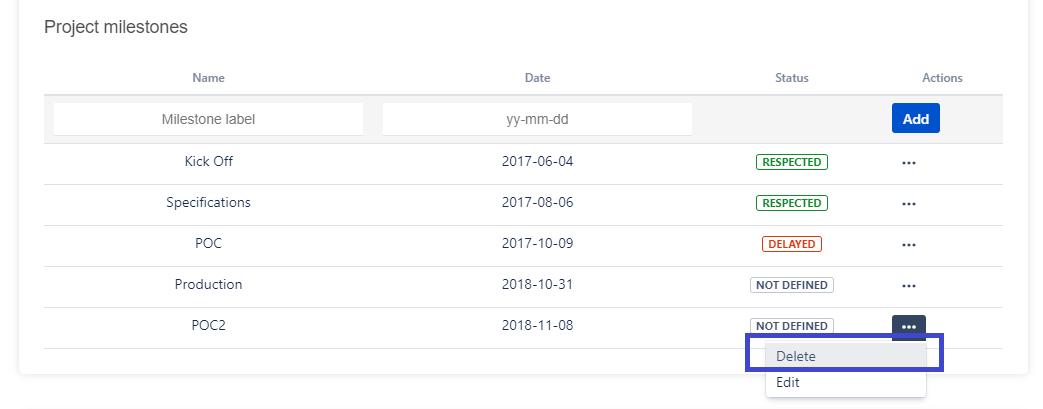 Once you click on Delete, this screenshot is displayed.
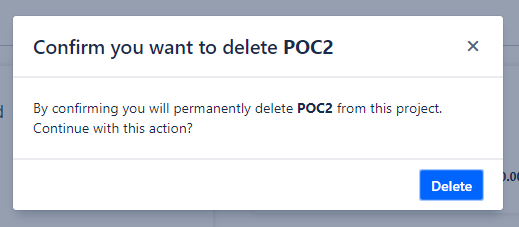
To confirm the deletion of the milestone selected, you must click on Delete.
A message will be displayed confirming the deletion.

![]() Milestone is deleted!
Milestone is deleted!
Graphic mode
To change the graphic mode, the user must click on the icon ![]() , the interface bellow is displayed.
, the interface bellow is displayed.
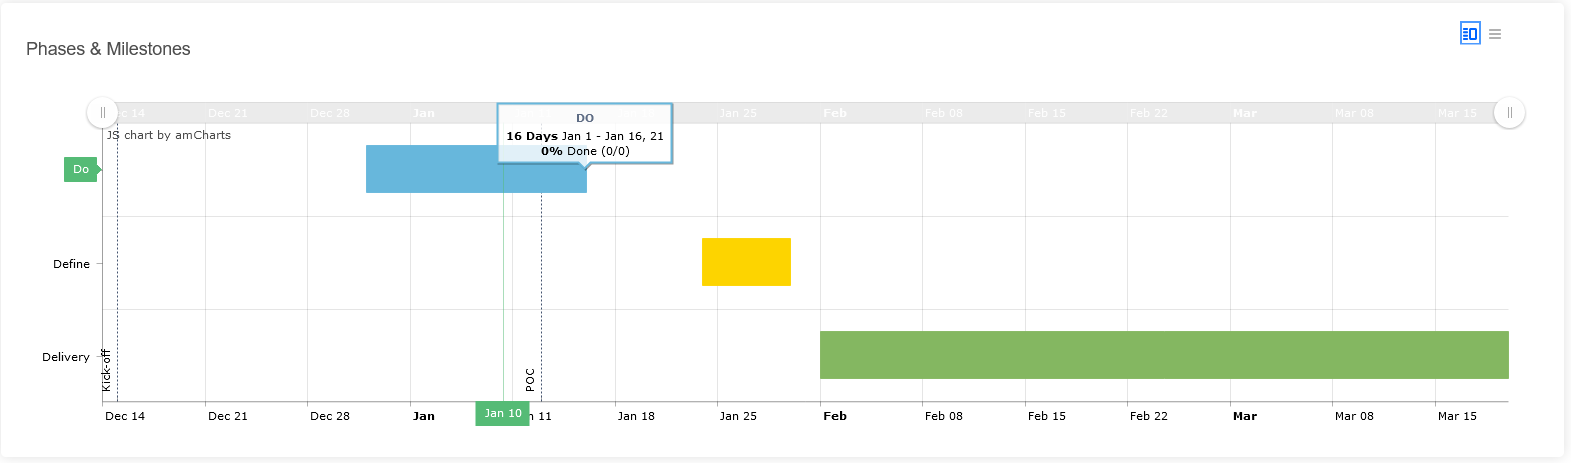
To return to the phase's table and the milestone's table, you must click on ![]() .
.
8.Project budget

This widget displays the project's budget.
- As an administrator, you can add, update and delete the project's budget.
- As a simple user, you must have the permission to add, update and delete the project's budget.
We will consider the current user as an administrator, so he can add, update and delete budget.
ADD BUDGET Click on ![]() → Choose a budget type from the selector → enter the budget item, the planned spend and the actual spend → Click on Add
→ Choose a budget type from the selector → enter the budget item, the planned spend and the actual spend → Click on Add
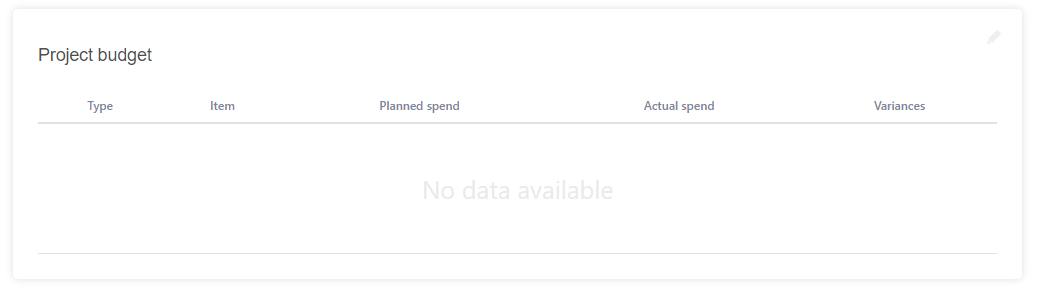
The screenshot bellow represents the widget when it is empty.
Once you click on ![]() , this view is displayed.
, this view is displayed.
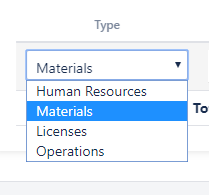
Now, you must choose the budget type from the selector, enter the budget item, the planned spend and the actual spend.

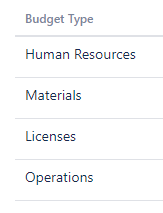
- The budget type's selector contains the list of the budget types from the budget global configuration.
Here an example:
| The budget type selector Onepage | The budget global configuration |
|---|---|
|
|
Once you click on Add, the message bellow will be displayed.

You can add one or more budget at the same time:
- You choose the budget item, enter the item, the planned spend and the actual spend → click on Add
- You repeat the scenario 1 before clicking on Done
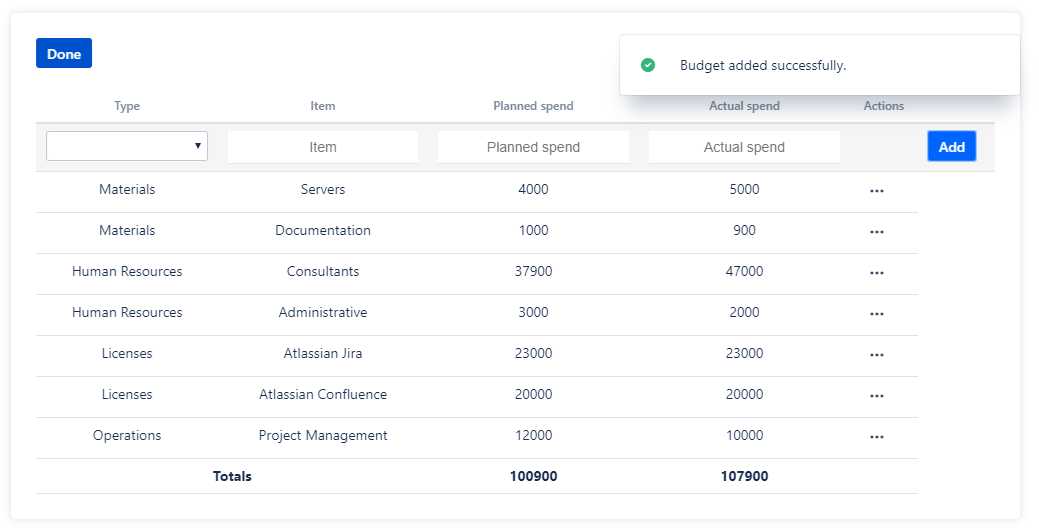
Once you add all budgets you, you click on Done to return to the principal interface of Onepage where budgets are displayed.
The column Variances is calculated automatically by subtracting the planned spend from the actual spend.
![]() That's it! All the budgets are there!
That's it! All the budgets are there!
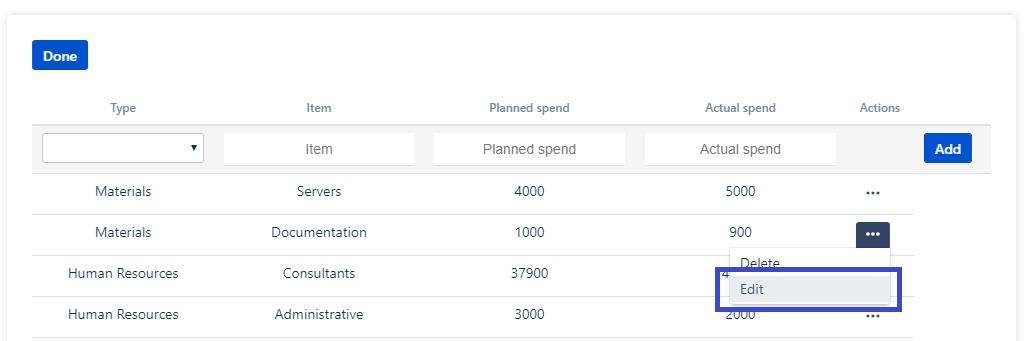
EDIT BUDGET Click on ![]() → Choose from the list the budget to edit and click on
→ Choose from the list the budget to edit and click on ![]() → Edit
→ Edit
As you click on Edit, the screenshot bellow is displayed.
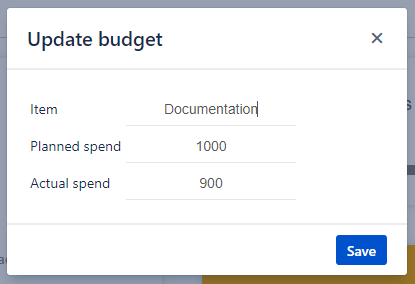
You can change the item, the planned spend and the actual spend.
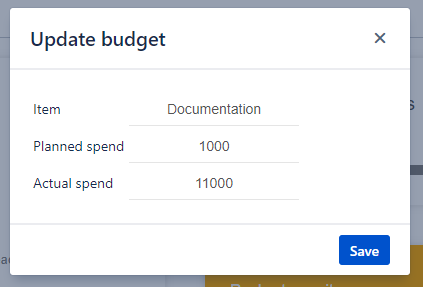
Once you update fields you click on Save.

![]() Budget is updated!
Budget is updated!
DELETE BUDGET Click on ![]() → Choose from the list the budget to delete and click on
→ Choose from the list the budget to delete and click on ![]() → Delete
→ Delete
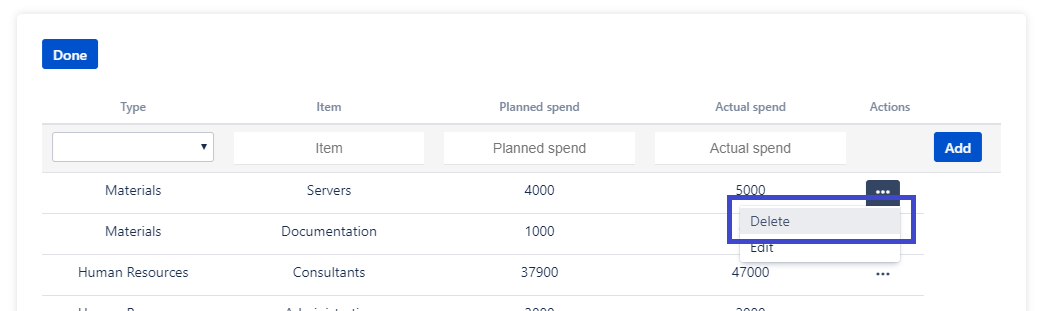
Once you click on Delete, this screenshot is displayed.
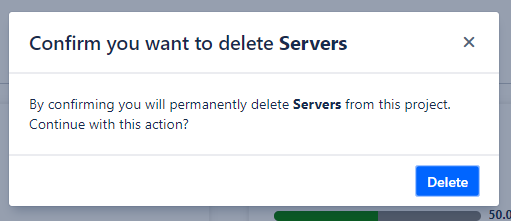
To confirm the deletion of the budget selected, you must click on Delete.
A message will be displayed confirming the deletion.

![]() Budget is deleted!
Budget is deleted!
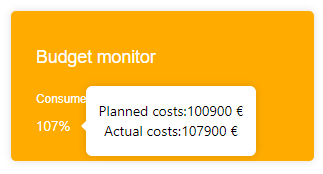
8.Project budget monitor
This widget is related with the project budget widget.
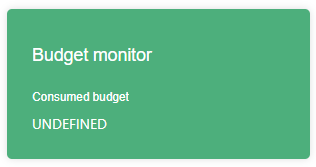
This screenshot represents the widget in its initial situation.
The widget contains :
- The average
A colored indicator is displayed according to the result of the calculation.
Indicator :
- If (total costs planned < total costs actual) => Red
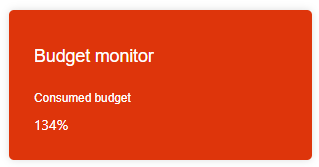
If (total costs planned > total costs actual) => Green
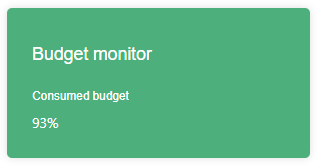
If (total costs actual <= (total costs planned+(total costs planned*0.1)) => Yellow
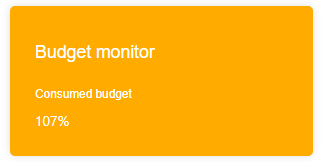
For more details about the global budget, you can just hover the cursor on the average.