Project configurations
Before accessing this interface, the administrator must set up the project by clicking on Project settings.
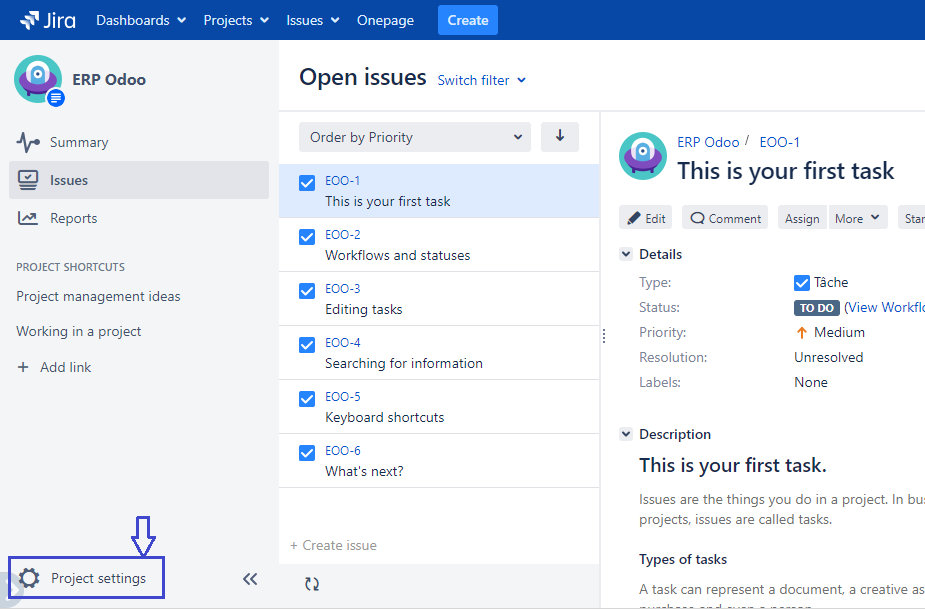
Once you click on Project settings, this interface is displayed
![]()
Project settings interface
To set up your project Onepage, the administrator must go to the framed section in the sidebar.
- Onepage settings - To enable / disable Onepage from the project + to choose the currency
- Access permission - To manage the access permissions of Onepage : Who can view + Who can edit
- Phases configuration - To configure the custom field to the screens
Onepage settings
Once you click on Onepage Settings, this interface is displayed :
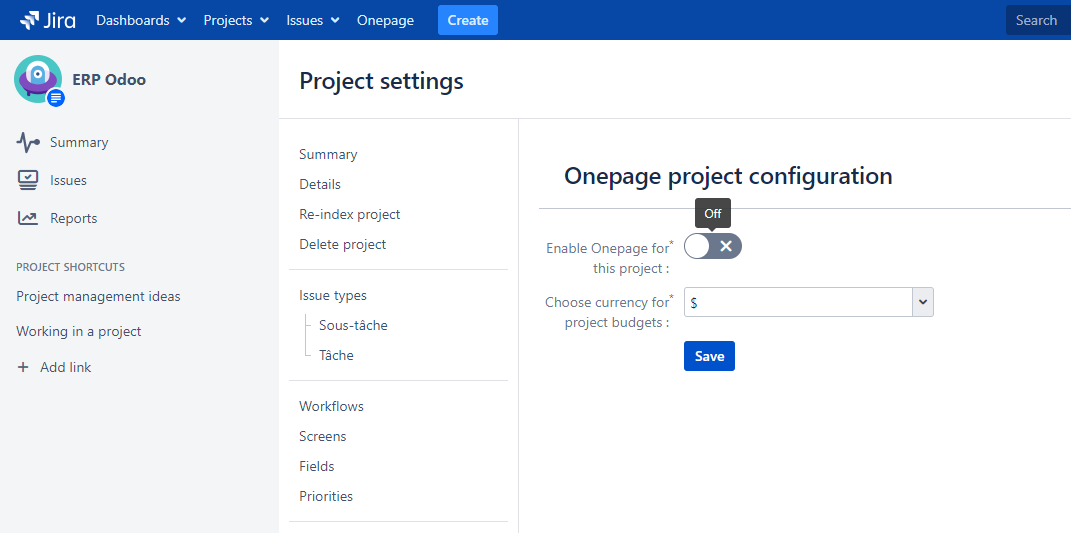
Onepage settings interface
To set up Onepage, you must :
- Enable / disable Onepage for the project by swiping the toogle sideways.
- Choose currency for the project budget by selecting the currency symbol.
To confirm your configuration, you click on Save:
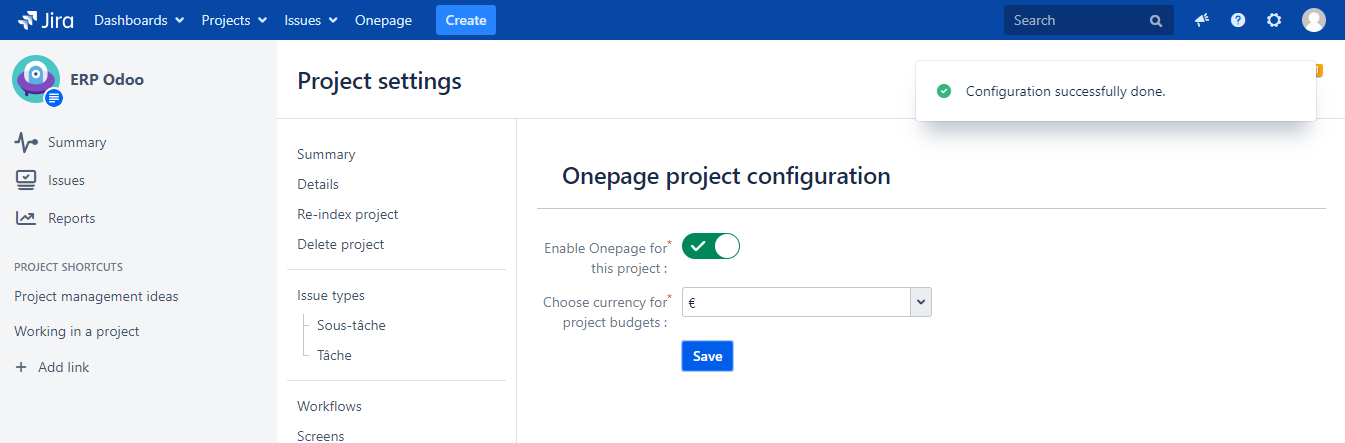
Configuration done
Note: The item Onepage has appeared in the main sidebar
Access permissions
As you click on Access Permissions, the screenshot bellow is displayed:
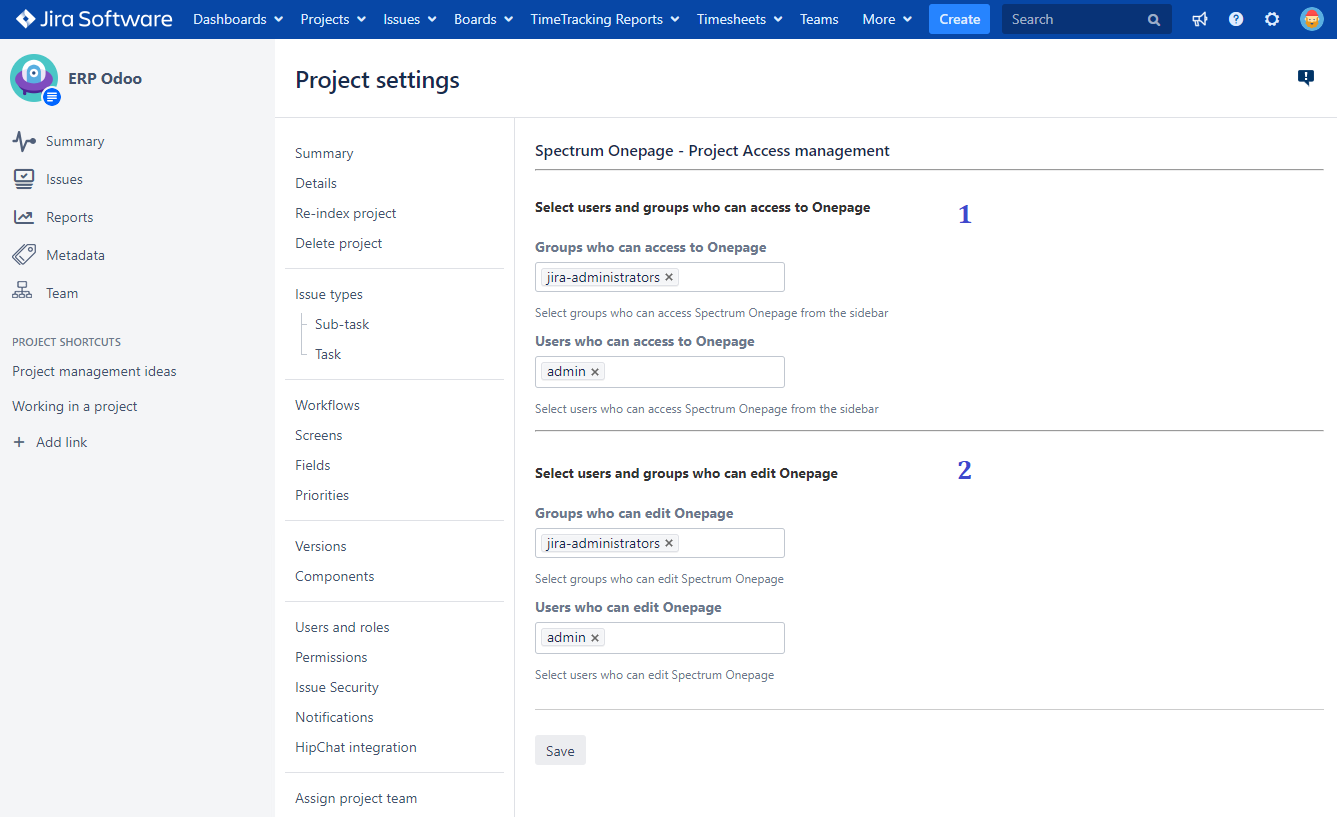
Access permissions interface
- The first section is dedicated to managing the access to Onepage
- The second section is dedicated to managing the access to edit Onepage widgets
So the administrator must choose the groups and the users who can access Onepage and select those who can edit its widgets.
By default, the groups and the users which have the role administrator can access and edit Onepage
To confirm this configuration, the administrator must click on Save.
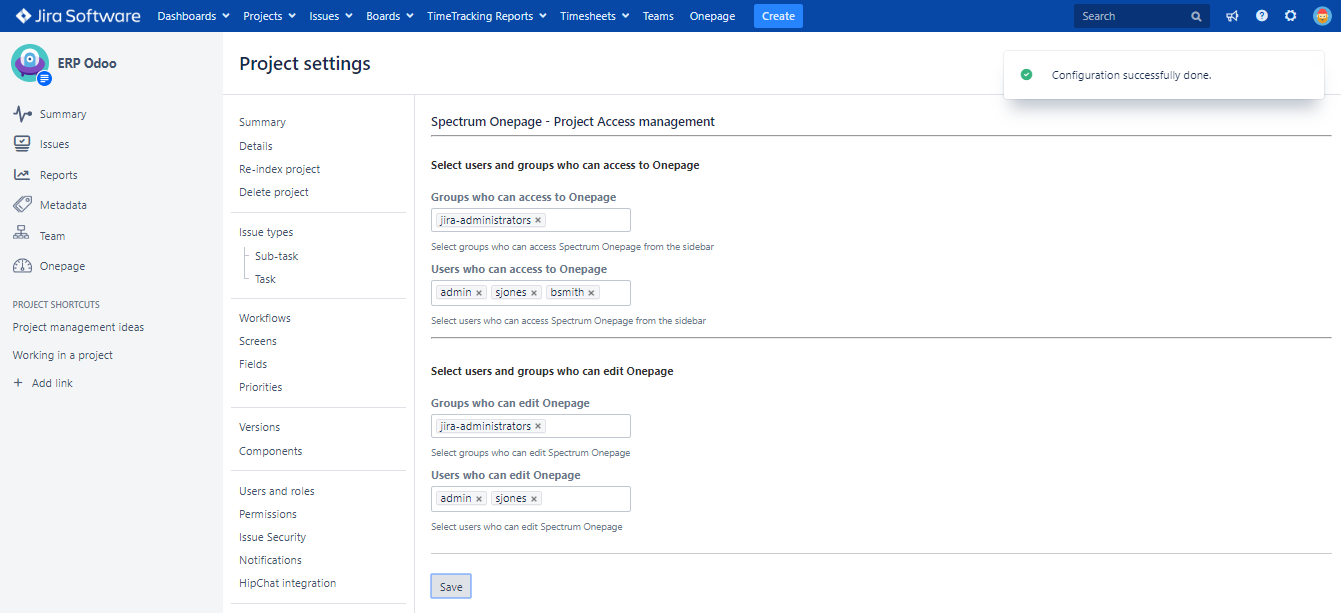
Configuration done
Phases configuration
This part is dedicated to add the custom field "Project phases" to the issue screens. Phases statistics are based on the value of this field once filled on JIRA issues.
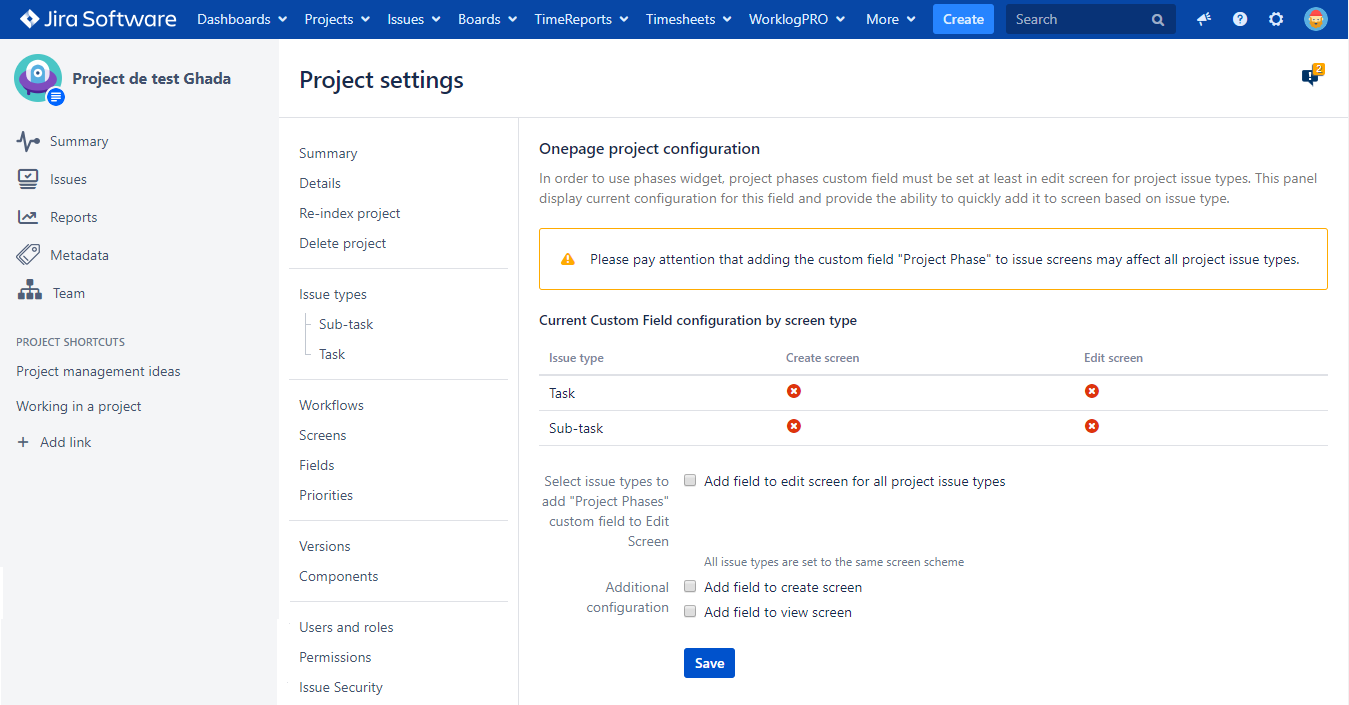
Once you access the "Phase Configuration" panel you can either enable the custom field for all issue screens of the project or based on the screen scheme configuration.
- Enable custom field on all screens for the Default issue screen scheme
The administrator can choose if field must be enabled on create screen and view screen.
You can find in the table (in the screenshot below) to which issue type the custom field "Project phase" is associated.
The custom field Project phase is associated by default to the issue edit screen when you check "Add field to edit screen for all project issue types"
Here screenshot that shows how to do it:
If administrator choose to match the custom field to all issues screens, they must check "Add field to all issues types and all their screens" and click on Save.
- Associated screen schema manually to issue
This screenshot shows you how to do it:
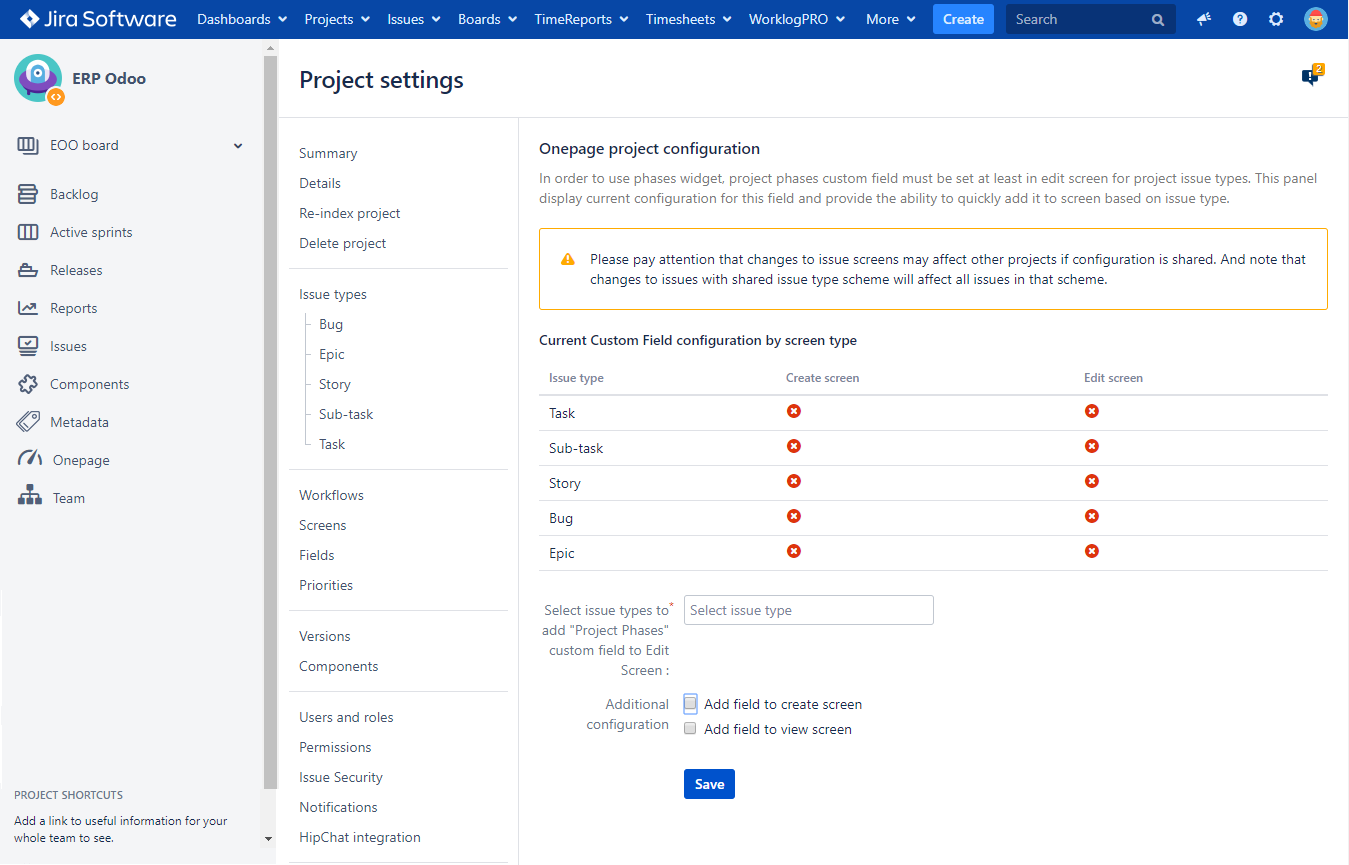
Phase configuration interface
First of all, the administrator must select the issue(s) type:
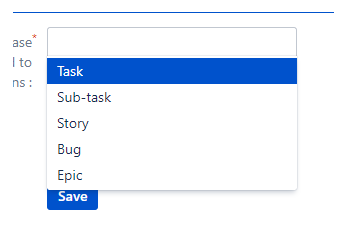
Then, they can associate a screen by checking one or both of the propositions bellow:
- Add the custom field Project phase to create screen
- Add the custom field Project phase to view screen

The custom field Project phase is associated by default to the issue edit screen when you select the issue(s) type and click on Save
Once you choose the issue(s) type and you choose the screens to associate with, you click on Save.
The table of the current custom field configuration by screen type will be modified.
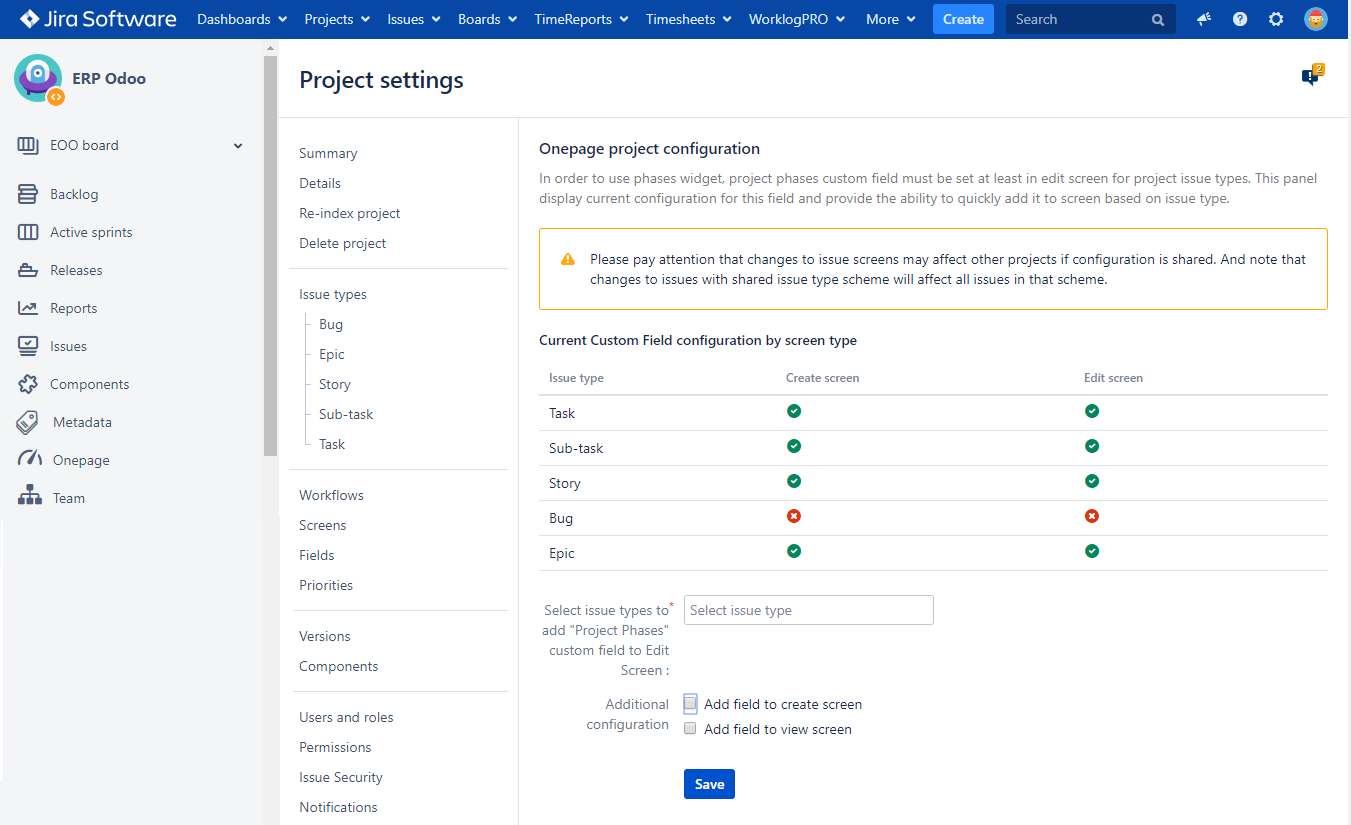 And the custom field will be added to the create and edit screen of the issue type(s).
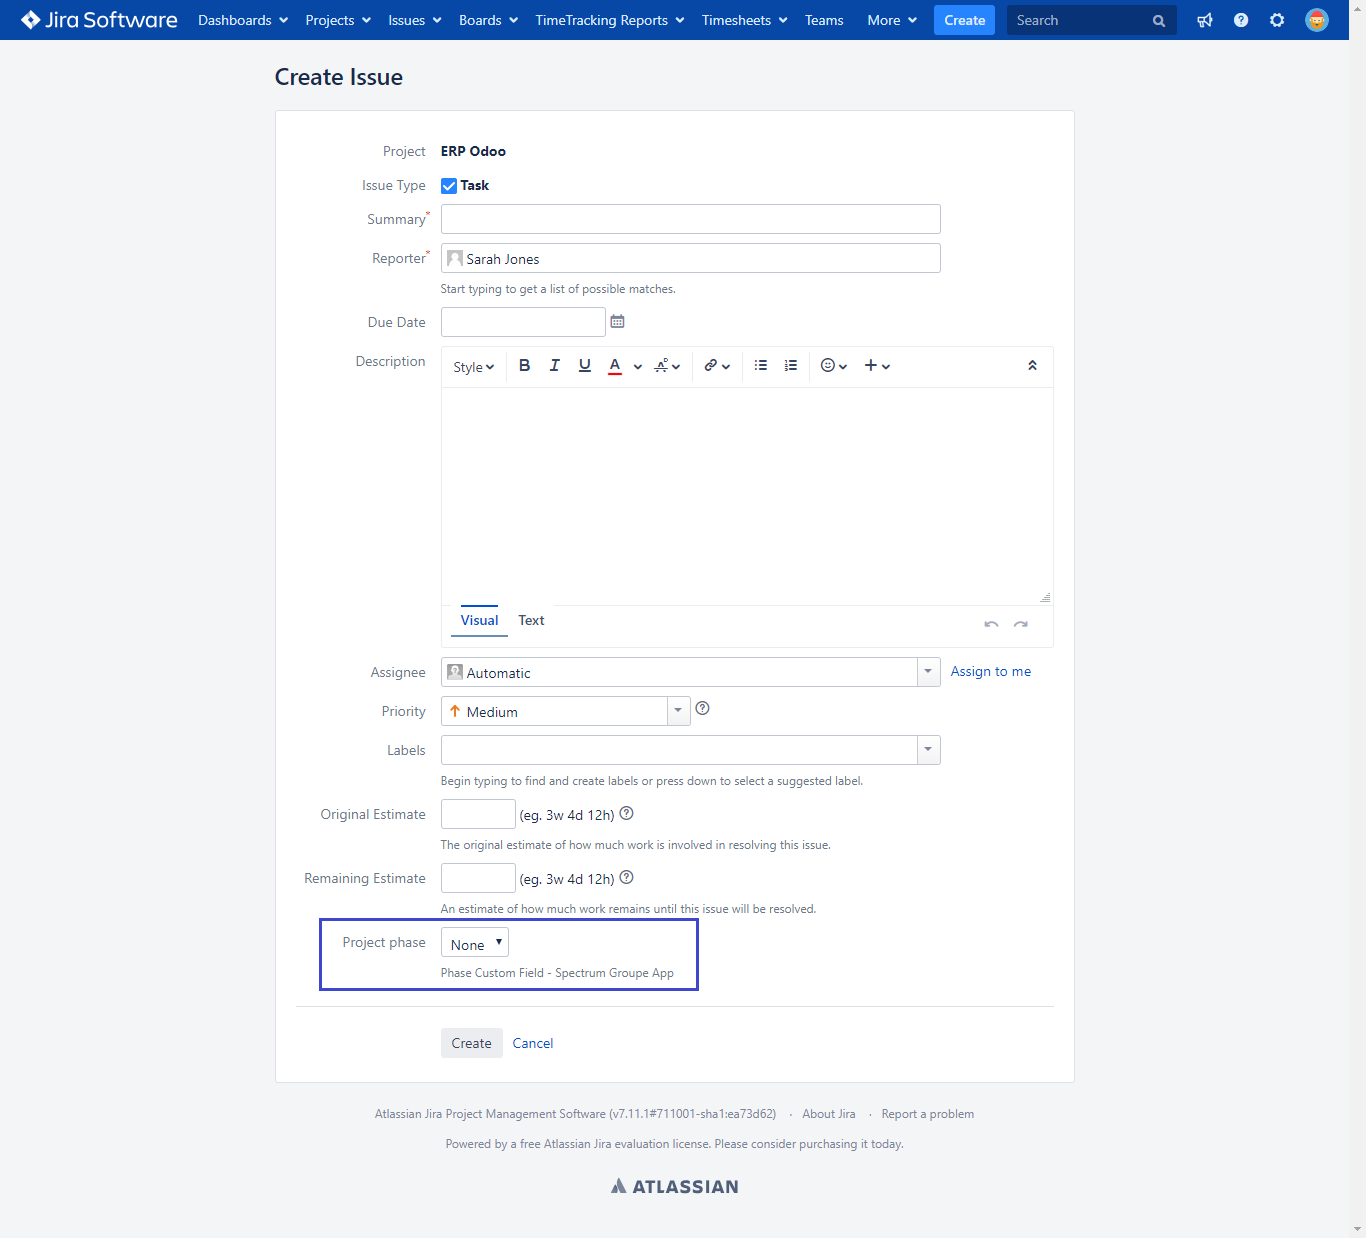
Here is an example:
Click on Create issue → choose the type Task